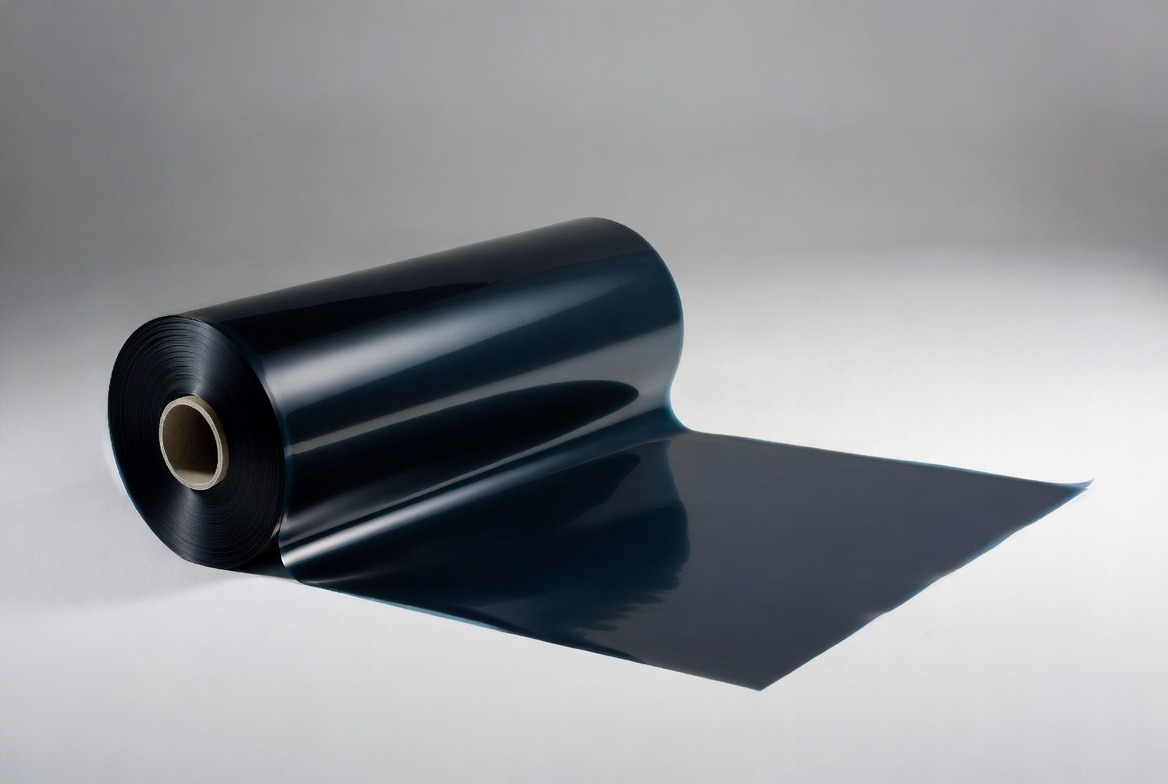
When it comes to enhancing privacy and controlling the natural light in your home, blackout window film is an excellent solution. Whether you’re looking to create a serene bedroom environment, reduce glare in your home office, or add a touch of elegance to your living space, blackout window film can cater to a variety of needs. This guide will help you understand the benefits, installation process, and maintenance of blackout window films, ensuring you make the best decision for your home improvement needs.

Blackout window film is a specially designed adhesive film that is applied to windows to block out light completely. Made from high-quality materials, these films are perfect for rooms where you need complete darkness or enhanced privacy. Unlike traditional curtains or blinds, blackout films provide a sleek, modern look without the hassle of maintenance.
Benefits of Blackout Window Film
The use of blackout window film offers a myriad of benefits:
- Enhanced Privacy: Blackout films are perfect for spaces where privacy is paramount. They prevent outsiders from seeing into your home, making them ideal for street-facing windows or bathrooms.
- Light Control: By blocking out natural light, blackout films are great for bedrooms, nurseries, or media rooms where you need darkness to sleep or watch movies without glare.
- Energy Efficiency: These films can help regulate the temperature in your home by reducing heat gain during the summer and retaining heat during the winter, ultimately lowering your energy bills.
- Aesthetic Appeal: Blackout films offer a clean, contemporary look that can complement any interior design without cluttering your window space with blinds or curtains.
- UV Protection: By blocking harmful UV rays, blackout films protect your furniture, flooring, and artwork from fading over time.
Choosing the Right Blackout Film for Your Needs

Selecting the right blackout window film involves considering several factors:
Types of Blackout Films
- Static Cling Films: These are non-adhesive films that cling to the window surface. They’re easy to apply and remove, making them ideal for renters or those who frequently change their decor.
- Adhesive Films: These offer a more permanent solution, as they stick to the window with an adhesive backing. They provide a durable and long-lasting solution but require more effort to remove.
- Decorative Films: For those looking to add a touch of style, some blackout films come with decorative patterns or textures, providing both functionality and aesthetic value.
Consider Your Space
Consider the room’s purpose and your specific needs when selecting a film. For instance, a home theater might benefit from a full blackout film, while a bathroom may only require partial privacy.
Measure Your Windows
Accurate measurements are crucial to ensure a perfect fit. Measure the width and height of your windows, and consider adding a few extra inches to each dimension to account for any cutting errors.
Installation Process
Installing blackout window film is a straightforward process that can be completed with minimal tools and expertise.
Tools You’ll Need
- A squeegee or a credit card
- A sharp utility knife
- A spray bottle with soapy water
- A measuring tape
- A clean cloth or towel
Step-by-Step Installation
- Clean the Window: Start by thoroughly cleaning your windows to remove any dirt or dust that could interfere with the film’s adhesive. Use a glass cleaner and a lint-free cloth for best results.
- Measure and Cut the Film: Use your measurements to cut the film to size, leaving a little extra around the edges.
- Apply Soapy Water: Fill a spray bottle with a mixture of water and a few drops of dish soap, then spray the window generously. This will allow you to reposition the film during application.
- Position the Film: Peel off the backing of the film and carefully position it on the window. Start at the top and work your way down, smoothing it out with your hands.
- Smooth Out the Film: Use a squeegee or credit card to push out any air bubbles or excess water, starting from the center and moving towards the edges.
- Trim the Excess: Once the film is in place, use a sharp utility knife to carefully trim the excess film from the edges of the window.
- Final Touches: Wipe away any remaining water with a clean cloth, and allow the film to dry completely.
Maintenance and Care

by william f. santos (https://unsplash.com/@youwwwill)
Blackout window films require minimal maintenance. Here are some tips to keep them looking their best:
- Cleaning: Use a soft cloth and a mild soapy solution to clean the film. Avoid using abrasive cleaners or sharp objects that could scratch the film.
- Avoid Direct Heat: Although blackout films are designed to withstand heat, excessive exposure to direct heat sources like radiators can shorten their lifespan.
- Regular Inspection: Periodically check the edges of the film for any signs of peeling or damage, and reapply if necessary.
Conclusion
Blackout window film is an innovative solution for those seeking privacy, light control, and energy efficiency in their homes. With various styles and types available, you can easily find a film that suits your needs and complements your interior design. By following the installation and maintenance tips outlined in this guide, you’ll enjoy the benefits of blackout window film for years to come. Consider it a worthy investment in enhancing the comfort and aesthetic appeal of your living space.