In the realm of home improvement, blackout window film has emerged as a versatile and practical solution for a variety of needs. Whether you’re an interior designer aiming to enhance aesthetics or a homeowner seeking privacy and energy efficiency, understanding the creative applications of blackout window film can significantly impact your living spaces. In this article, we’ll explore innovative ways to utilize blackout window film, highlighting its benefits and offering insights into how it can transform your environment.

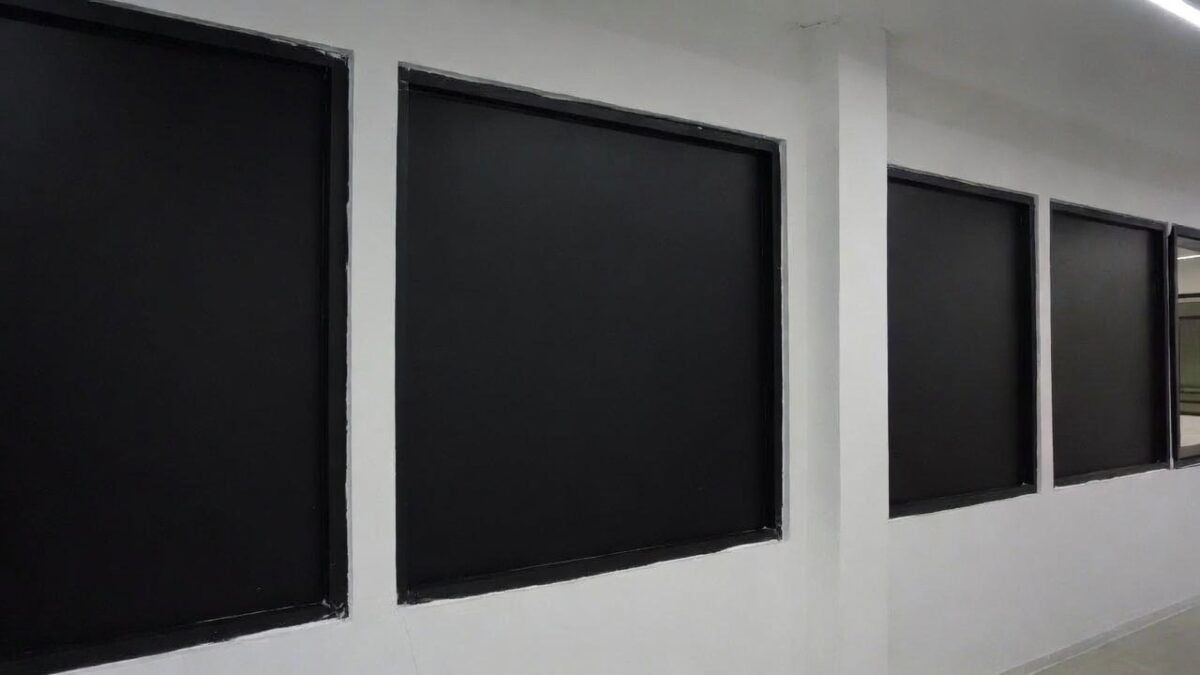
Blackout window film is a specialized type of window covering designed to block out light completely. Unlike traditional window tints that primarily reduce glare and heat, blackout films provide total darkness, making them an ideal choice for areas where privacy and light control are paramount.
Benefits of Blackout Window Film
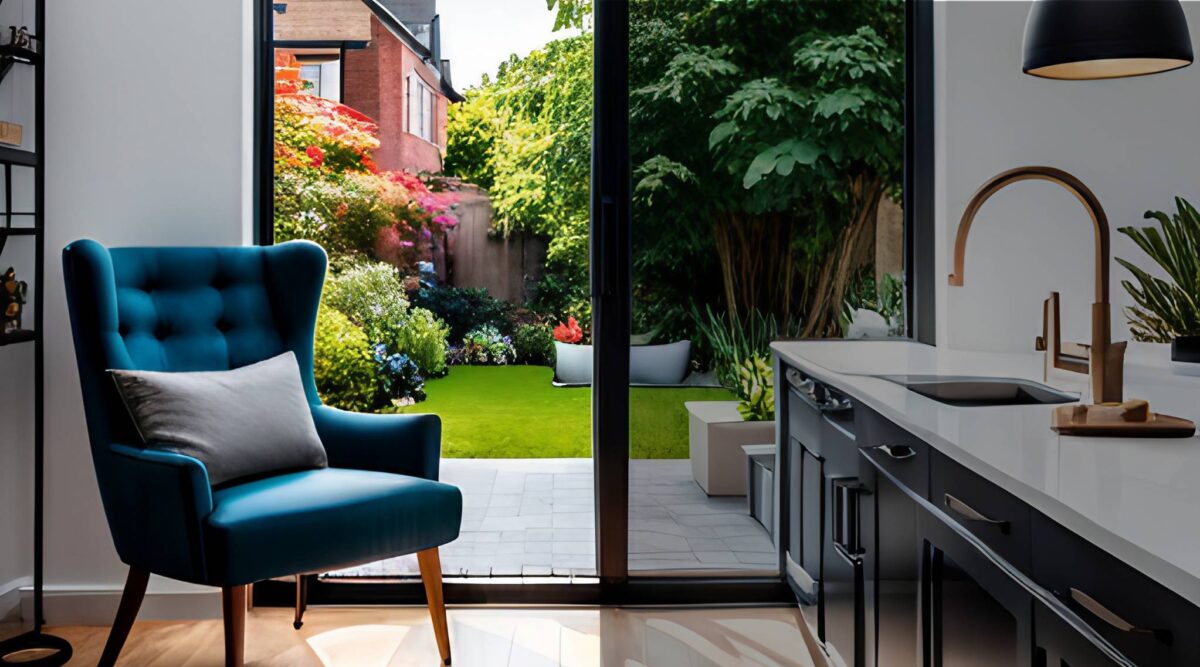
- Enhanced Privacy: By completely blocking the view from outside, blackout window film offers unparalleled privacy, making it perfect for bedrooms, bathrooms, and office spaces.
- Light Control: This film effectively eliminates unwanted light, making it ideal for creating a dark, cozy environment in media rooms or nurseries.
- Energy Efficiency: By reducing heat transfer, blackout films contribute to energy savings, keeping interiors cooler in summer and warmer in winter.
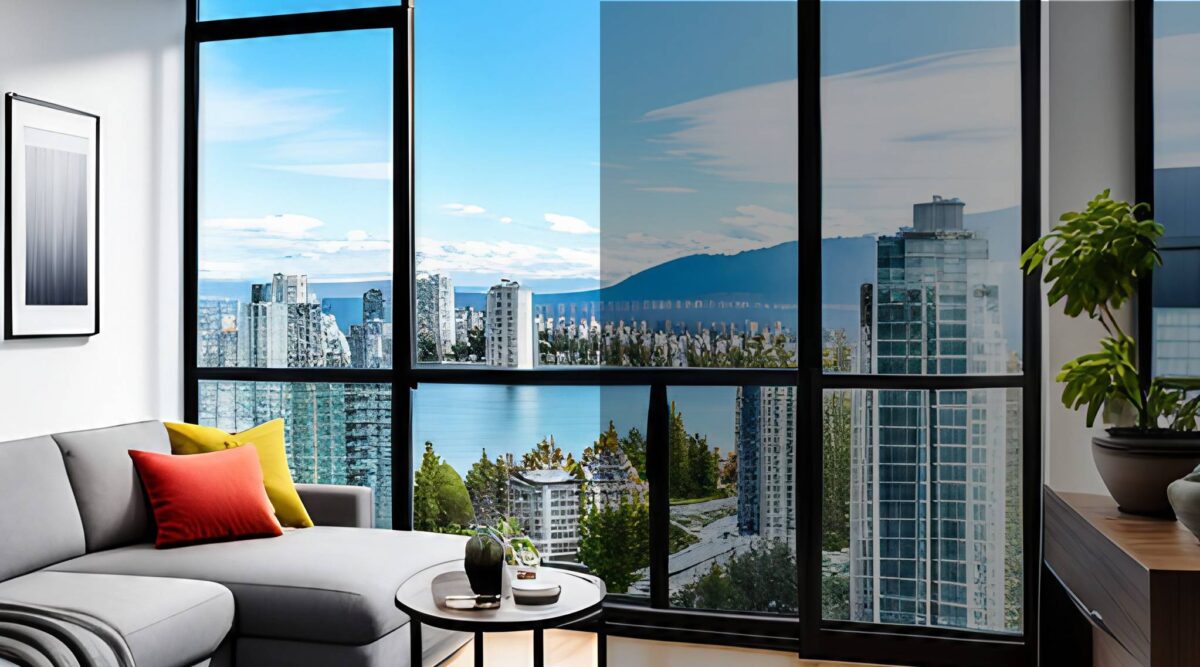
- Aesthetic Appeal: With a sleek, modern look, blackout films can complement various interior design styles, adding a touch of sophistication.
Innovative Applications for Blackout Window Film

1. Creating the Perfect Home Theater
Transforming a room into a home theater requires controlling ambient light for an optimal viewing experience. Blackout window film can turn any room into a cinema-like environment by blocking outside light and reducing glare on screens. This makes for an immersive viewing experience, allowing you to enjoy movies, sports, and games in the best possible setting.
2. Enhancing Bedroom Privacy and Comfort
For bedrooms, particularly in urban settings, privacy is a crucial concern. Blackout window film can provide the peace of mind you need by ensuring that your personal space remains private. Additionally, the film’s ability to block light can help regulate sleep patterns, creating a restful environment for better sleep quality.
3. Creating a Productive Home Office
In today’s remote work culture, a well-designed home office is essential. Blackout window film can help reduce glare on computer screens, preventing eye strain and enhancing productivity. It also allows for better control of the room’s lighting conditions, ensuring a comfortable work environment.
4. Protecting Valuables from Sun Damage
Exposure to sunlight can cause fading and damage to furniture, artwork, and flooring. Blackout window film acts as a protective barrier, shielding your valuables from harmful UV rays and prolonging their lifespan.
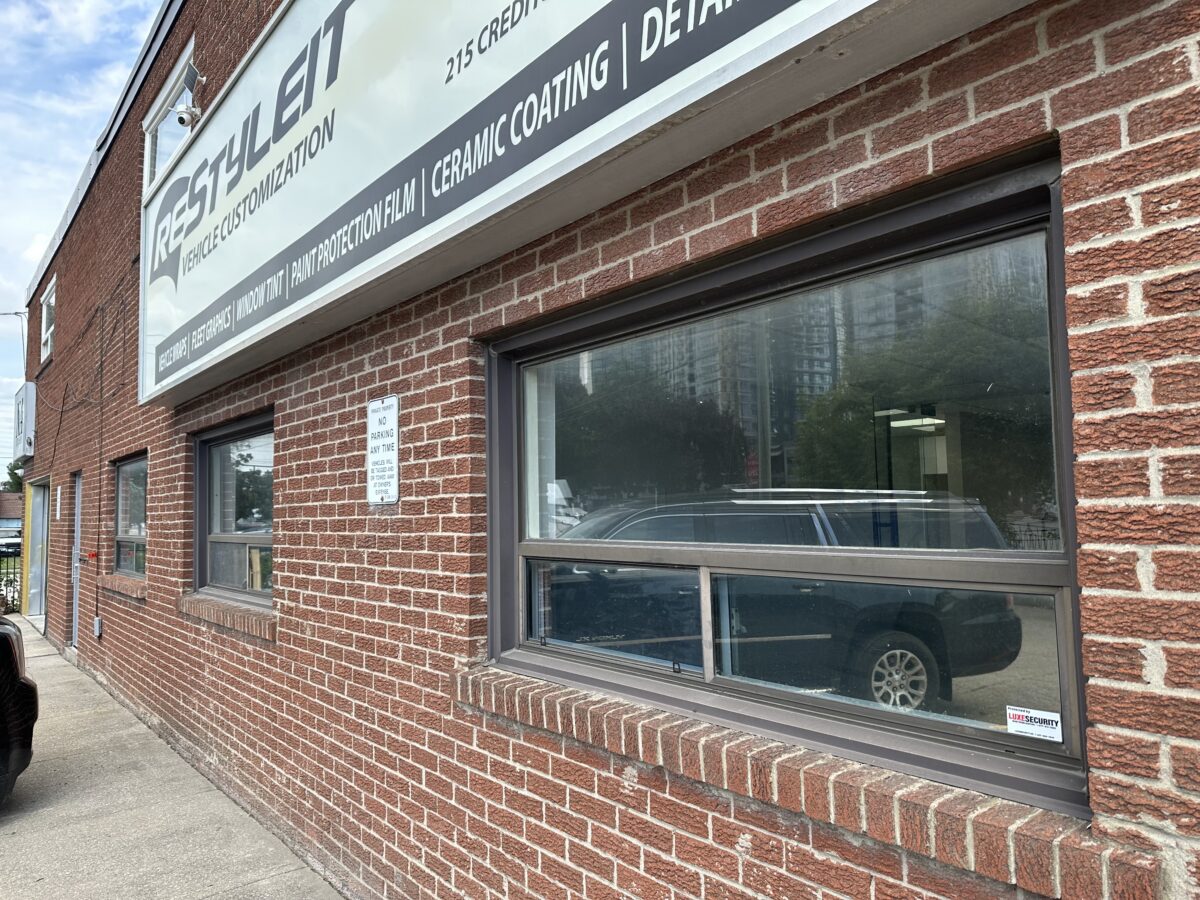
5. Adding Style to Commercial Spaces
Blackout window film isn’t just for residential use; it’s also a valuable addition to commercial settings. Retail stores, restaurants, and offices can benefit from the privacy and aesthetic appeal it provides. It can also be used creatively in display windows or as part of a branding effort to create a unique visual identity.
How to Install Blackout Window Film

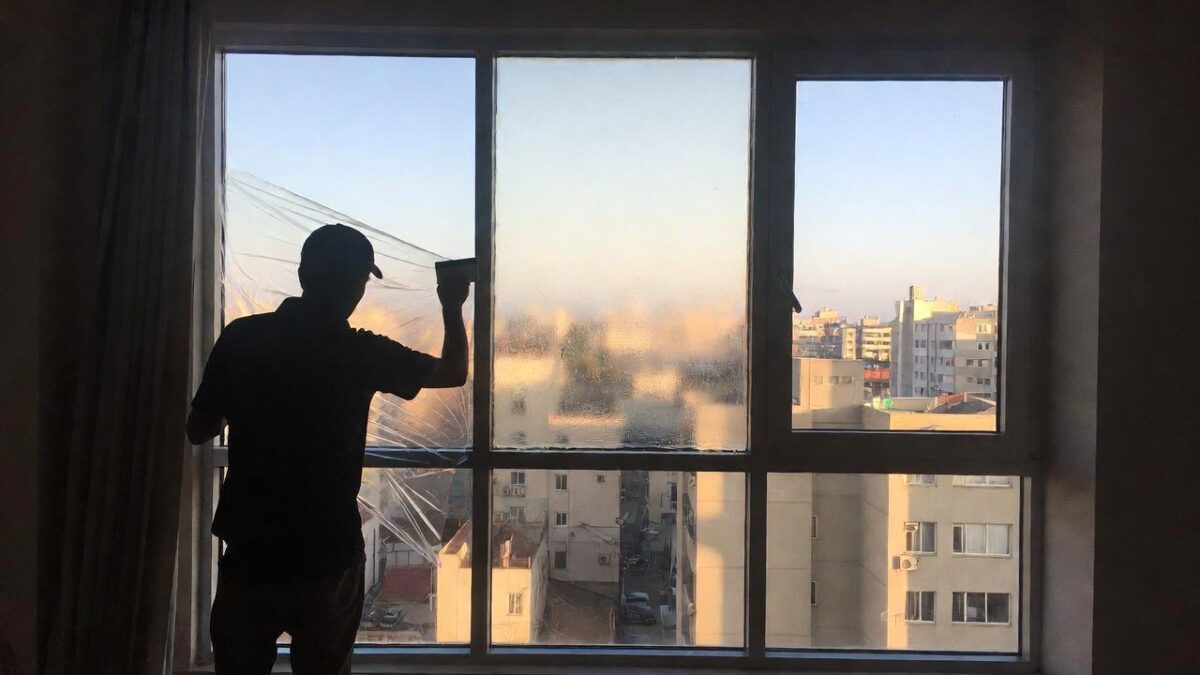
by Dominik Puskas (https://unsplash.com/@puskas_dominik)
Installing blackout window film can be a straightforward DIY project, but it requires attention to detail to ensure a smooth, bubble-free finish. Here’s a step-by-step guide:
- Measure and Cut: Measure your window precisely and cut the film to size, allowing for a slight overlap.
- Clean the Window: Ensure the window is thoroughly cleaned with a non-abrasive cleaner to remove dust and debris.
- Apply the Film: Peel the backing from the film and apply it to the window, starting at the top and working your way down. Use a squeegee to smooth out any air bubbles as you go.
- Trim the Edges: Once the film is in place, use a sharp utility knife to trim any excess film for a clean edge.
- Final Touches: Use the squeegee again to ensure the film is firmly adhered and all bubbles are removed.
For larger projects or for those who prefer professional help, hiring an expert can ensure a flawless application and save time.
Choosing the Right Blackout Window Film
When selecting blackout window film, consider the following factors:
- Quality: Look for films with high UV protection ratings and durable construction to ensure long-lasting performance.
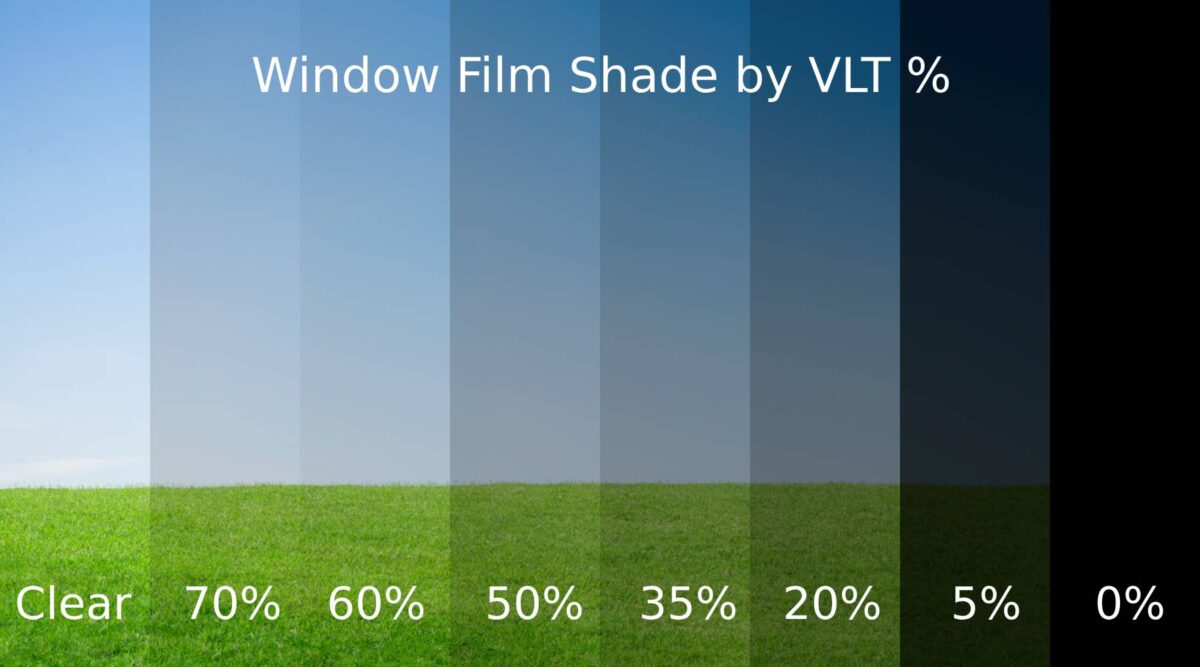
- Color and Finish: Blackout films come in various shades and finishes. Choose one that complements your interior style and fulfills your privacy needs.
- Installation Ease: Some films come with adhesive backing, while others are static cling. Consider your DIY comfort level when making a choice.
Conclusion
Blackout window film offers a myriad of creative applications that extend far beyond traditional uses. Whether you’re looking to enhance privacy, improve energy efficiency, or simply add a touch of style to your home or office, this versatile window covering has much to offer. By embracing the innovative uses of blackout window film, you can transform your spaces into functional, comfortable, and aesthetically pleasing environments.