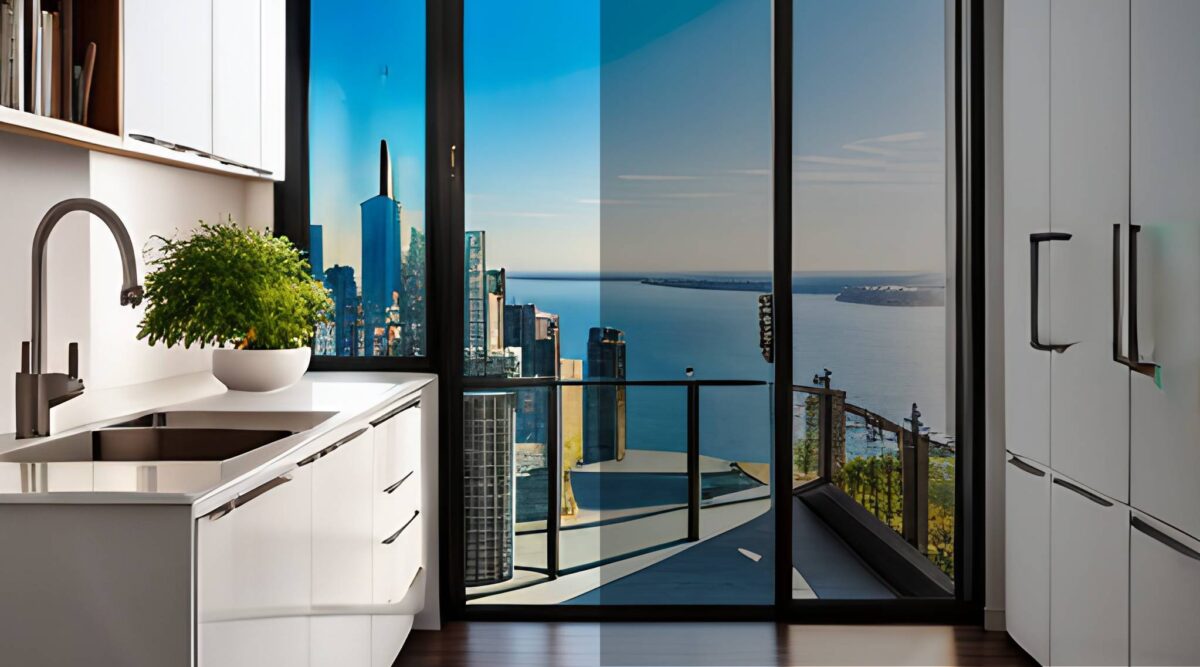
Window films are one of the most searched upgrades for homes and businesses in Toronto and the GTA. People usually start looking into window films when rooms get hot too fast, glare makes work screens hard to see, and air conditioners seem to run all day. Energy bills climb and never really settle down. That’s when many property owners compare window films with Low-E glass.
Toronto has a lot of glass-heavy buildings. Condos near the Gardiner. Older homes in East York with big front windows. Offices downtown with walls of glass. In many of these places, heat enters through the windows, not the walls. This is why window films come up so often before anyone thinks about replacing windows.
This article explains how window films, especially solar window film, compare to Low-E glass using real Toronto examples. The goal is simple. Explain what works, what costs more, and what fits local buildings without ripping anything out.
Why window films are a big deal in Toronto
Toronto summers don’t wait around. One week feels fine. The next week, west-facing rooms feel hot before noon. Homes in Scarborough, Etobicoke, and parts of North York deal with this every year.
During a heat stretch last July, several semi-detached homes near Eglinton Avenue reached out within days. All had decent windows. All had insulation upgrades. Still, upstairs rooms overheated. The heat was coming straight through the glass.
This is the kind of problem window films are meant to fix.
How window films work on existing glass
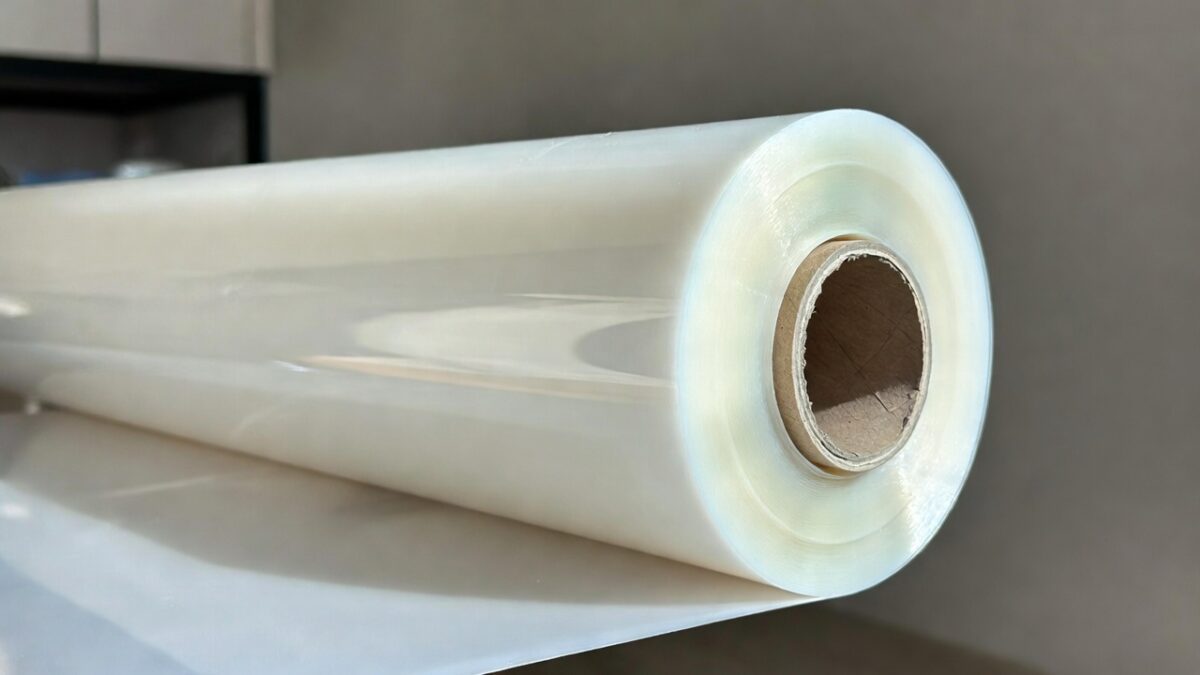
Window films are thin layers installed on the inside surface of existing windows. They change how sunlight passes through glass. Solar window film reflects and absorbs heat before it enters the room.
If you want a simple breakdown of film types and how they work, this guide explains the basics clearly: Introduction to Window Films: Understanding the Basics.
Solar window film focuses on three main jobs. Heat control. Glare reduction. UV blocking. These three solve most comfort issues seen in Toronto homes and offices.
How window films perform in GTA homes
Most Toronto homes already have sealed double-pane windows. These setups work well with window films.
- They cut solar heat coming through glass
- They reduce glare on TVs and monitors
- They block UV that fades floors and furniture
- They help rooms feel more even in temperature
A two-storey home in Pickering had a second-floor bedroom that hit 30°C by mid-day. Blinds helped a bit but made the room dark. After adding window films to two south-facing windows, the room stayed cooler and brighter at the same time.
This type of result shows up often when sunlight is the real issue.
Cost and install time for window films
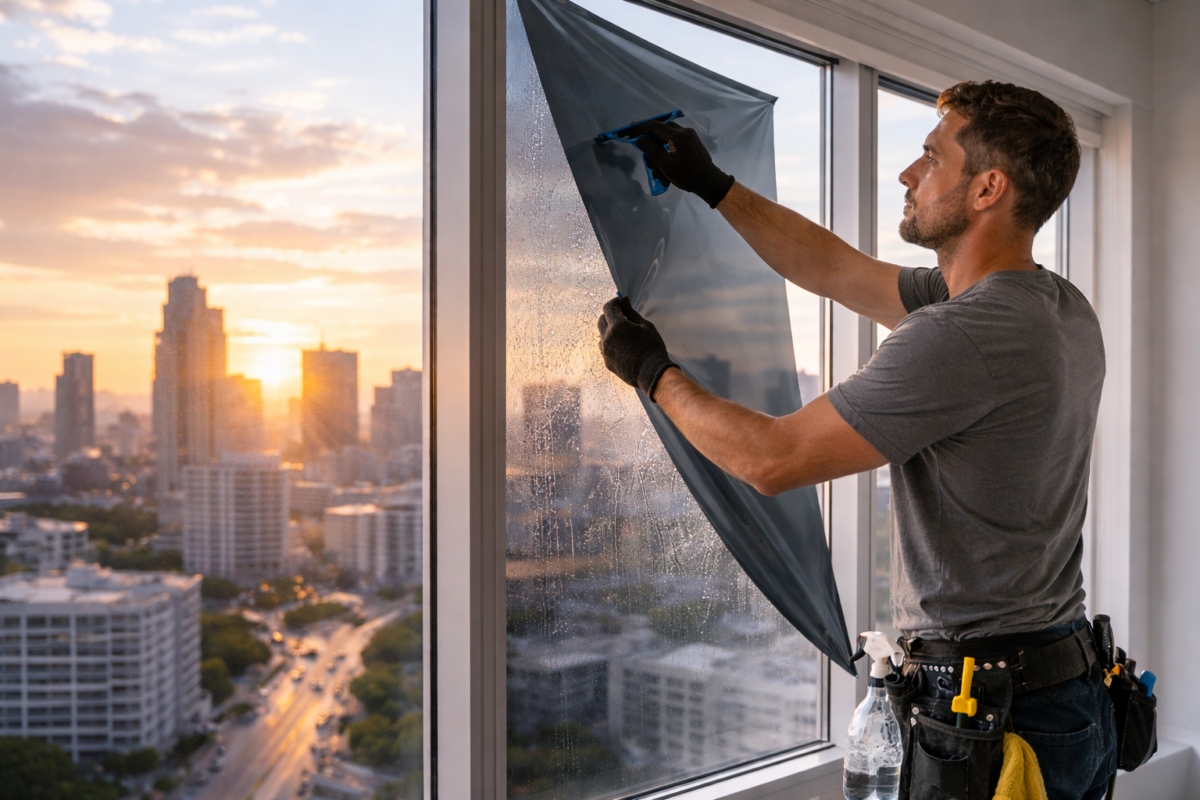
This is where window films usually make sense.
Installs happen from inside the home. No glass removal. No exterior changes. Many homes finish the same day.
Costs stay far lower than replacing windows. This matters in condos, rentals, and older homes where frames still work fine.
This article explains why many owners start with film instead of replacement: Benefits of Choosing Window Films Over Replacements.
What Low-E glass does and where it fits
Low-E glass includes a coating added during manufacturing. It reflects certain heat energy and improves insulation. It works best when installed as part of a full window system.
Many newer builds in Oakville and Newmarket already use Low-E glass. In those homes, basic heat control is often already built in.
Limits of Low-E glass in older Toronto buildings
Low-E glass requires full window replacement. That creates some problems in Toronto.
- Condo boards often need to approve changes
- Install times are longer
- Costs rise fast
- Frames may also need work
Low-E glass also does not always reduce glare enough. Many homeowners still rely on blinds or shades after replacing windows.
This is why many Toronto owners with working windows turn to window films instead.
Window films vs Low-E glass in everyday use
Here’s how both options compare in real Toronto properties.
Window films
- Install on existing glass
- Lower upfront cost
- Fast install time
- Strong heat and UV control
- Good glare reduction
- Often allowed in condos
Low-E glass
- Needs window replacement
- Higher cost
- Longer install time
- Good insulation
- Glare control varies
- Approval may be needed
If windows are failing, replacement makes sense. If heat and glare are the issue, window films usually fix it faster.
How window films perform during Toronto winters
Window films are not just for summer.
In winter, solar window films slow radiant heat loss through glass. Rooms feel more stable during cold stretches in January and February, especially in older homes.
Natural Resources Canada explains how heat moves through windows here: Natural Resources Canada – Windows and Doors.
Case study: downtown condo heat problem
A condo near Fort York had west-facing floor-to-ceiling glass. By mid-afternoon, the unit felt too hot and bright. Blinds blocked the light and made the space feel small.
Solar window films were added only to the west-facing panels. Glare dropped. Natural light stayed. The living space became usable again without changing the exterior.
Case study: GTA childcare centre
A childcare centre in Richmond Hill had strong afternoon sun pouring into play rooms. Staff complained about heat and glare. Curtains helped but darkened the space.
After installing window films on the sun-facing windows, the rooms stayed cooler and brighter. Staff noticed fewer complaints and steadier room temps during hot days.
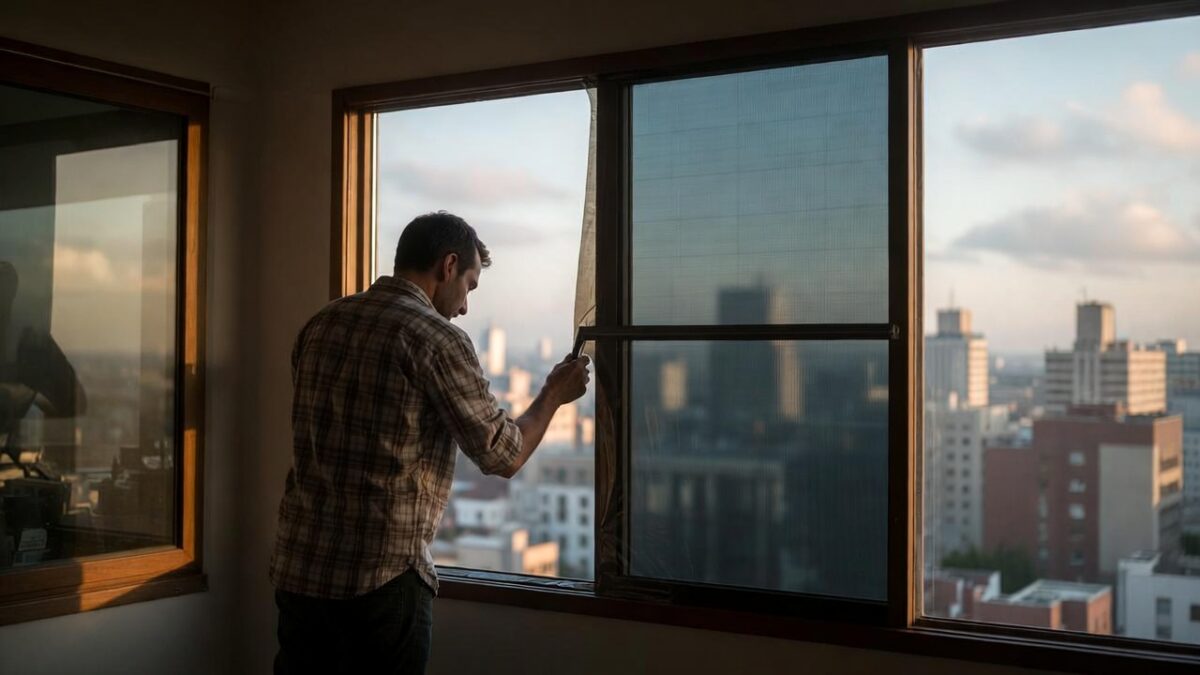
Why local window film experience matters
Toronto buildings vary a lot. Brick homes. Glass towers. Older double-pane windows. Newer triple-pane systems.
Local installers know which window films work with different glass types. This helps avoid seal damage and poor results.
This checklist explains what should be checked before installation: What Are Key Considerations When Installing Window Films.
Timing matters too. Cold weather installs need different handling than summer installs. That part gets missed a lot.
Window films for Toronto and GTA businesses
Window films are used across many business types.
- Retail shops
- Medical clinics
- Office spaces with glass walls
- Restaurants with sun-facing windows
ENERGY STAR Canada also supports better window performance for energy control: ENERGY STAR Canada – Windows and Doors.
Window films vs window replacement costs
Window replacement can cost tens of thousands in Toronto. Window films cost much less.
Many owners install window films now and plan replacement later when frames fail.
This is why searches for window films Toronto rise every spring.
Final thoughts for Toronto property owners
If you are building new, Low-E glass works well. If your windows still function and heat is the main issue, window films often make more sense.
They install fast. They cost less. They fit how Toronto buildings are built.
For heat, glare, and fading problems, solar window films solve issues without tearing anything out.
If you want a full overview of options available locally, start here: Window Films Overview.